

Pushing myself creatively is something that’s always on my mind. Especially with my photography.
I love learning new skills and I think that’s why photography is something I enjoy so much. You’ll never run out of things to photograph or techniques to try. I think that’s why my camera kit wishlist will never stop growing!
When Viking Direct invited me along to their photography masterclass with professional photographer, Elouisa Georgiou, I had to go. It was hosted at the Botanist in town- a perfect backdrop for beautiful photos.
I am still learning how to use manual mode on my camera, I find it quite daunting! So I was quite glad to attend this masterclass and get to take away notes from a professional.
Fundamentals of Photography
Shutter Speed- This is how fast the shutter captures your image. To stop motion, you’ll need a higher shutter number, and to capture motion you’ll need to shoot at a lower shutter speed number to create blur. Remember, a faster/higher shutter means less light being let into the camera. So make sure to use bounce boards, natural lighting and a tripod.
ISO– The lower the ISO, the less sensitive the sensor is to light, the higher the ISO the more sensitive your camera is to light. For clear and less grainy photos, shoot at the lowest ISO possible.
Aperture– Also known as the F Stop, this controls the depth of field, ie. the amount of subject you’ll have in focus in the foreground/background of an image. A wide aperture (f/2) or low F stop has a softer focus on the background, lets in more light and will create a bokeh effect in the background. A narrow aperture (f/22) has more in focus in the background and lets less light in.
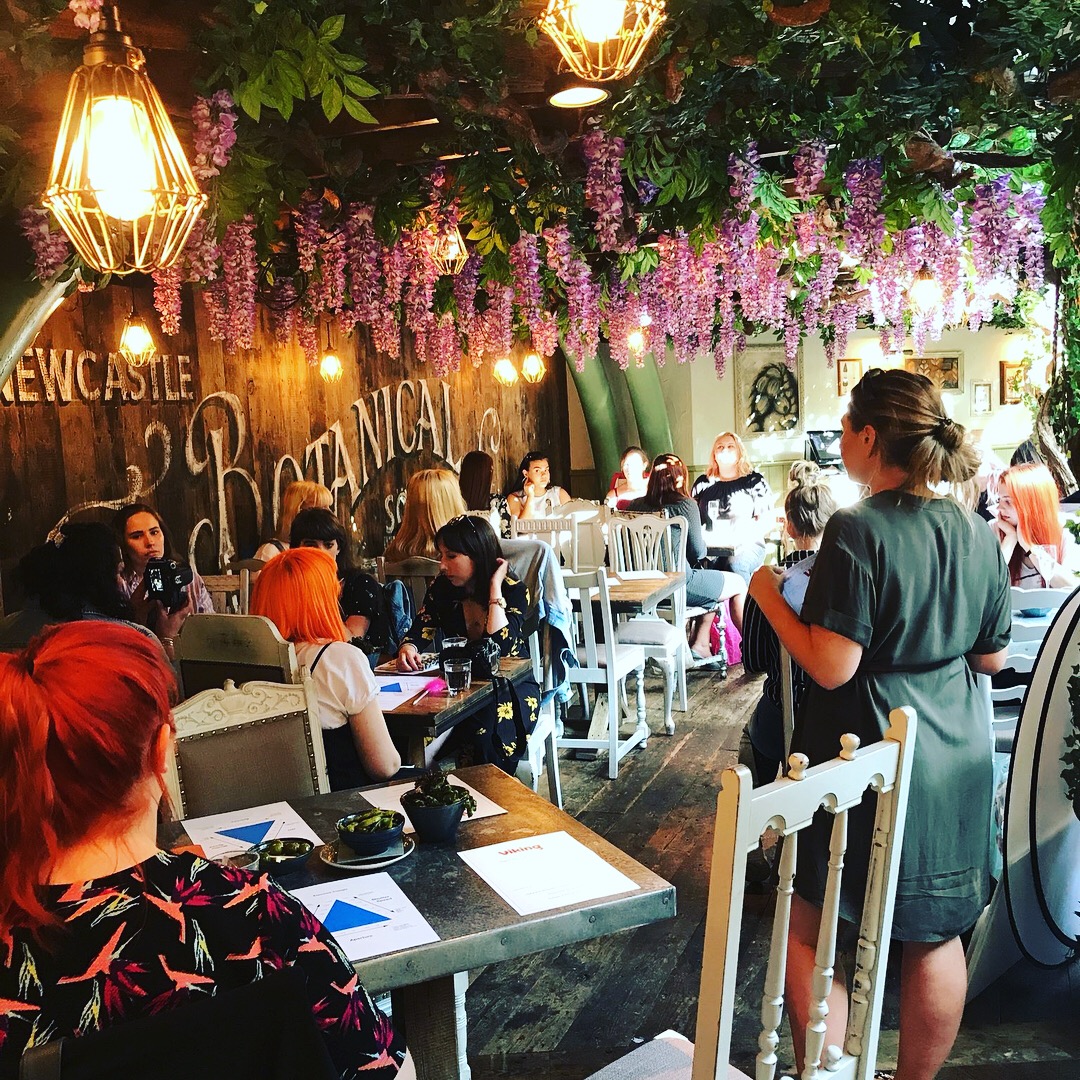
(How beautiful is the Botanist?)
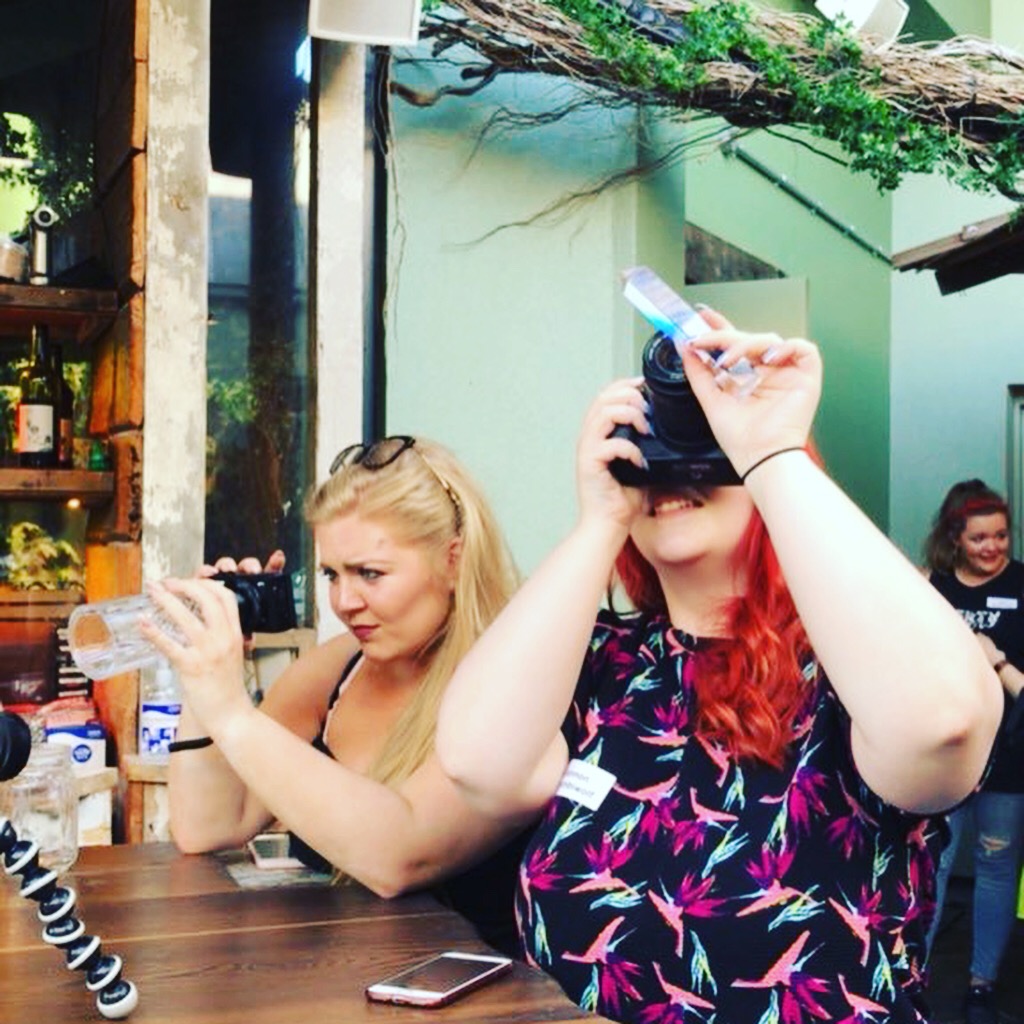
We then went onto practicing how to use this knowledge and items dotted around the room. We had three stations: portraits using reflection, flatlays, still life and the whole of the Botanist to use as a shoot location!
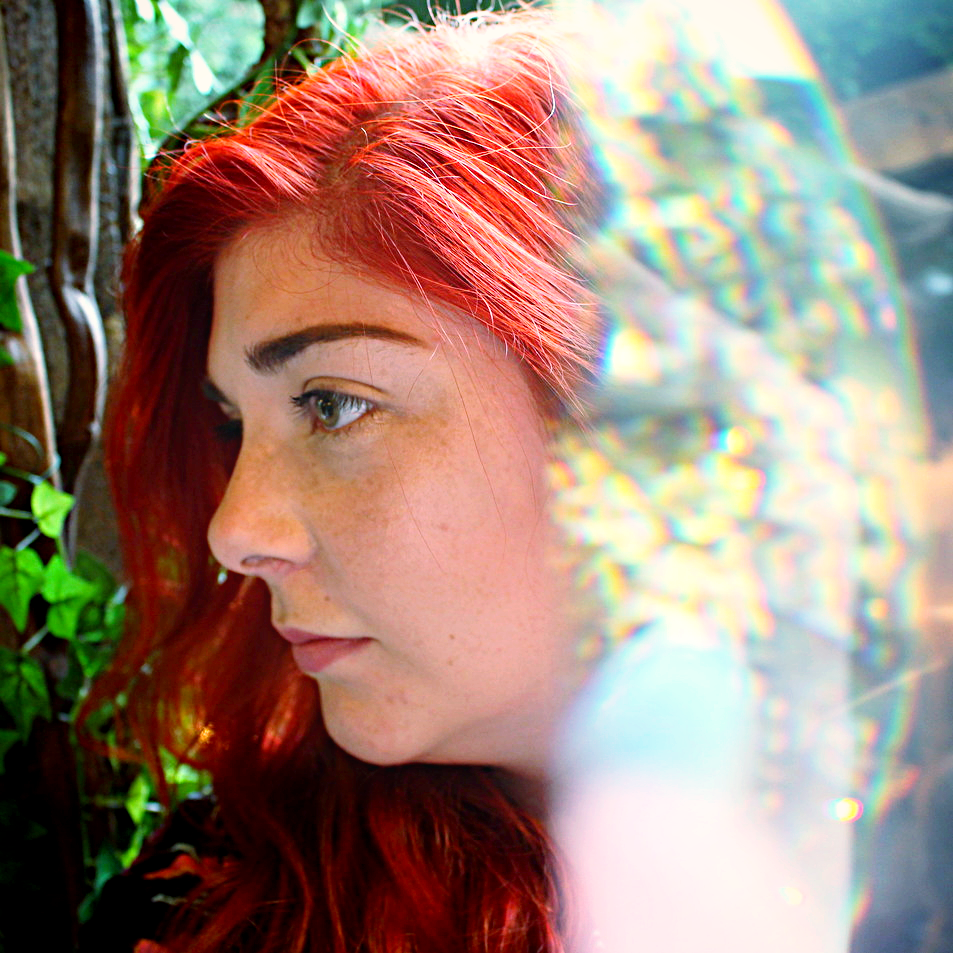
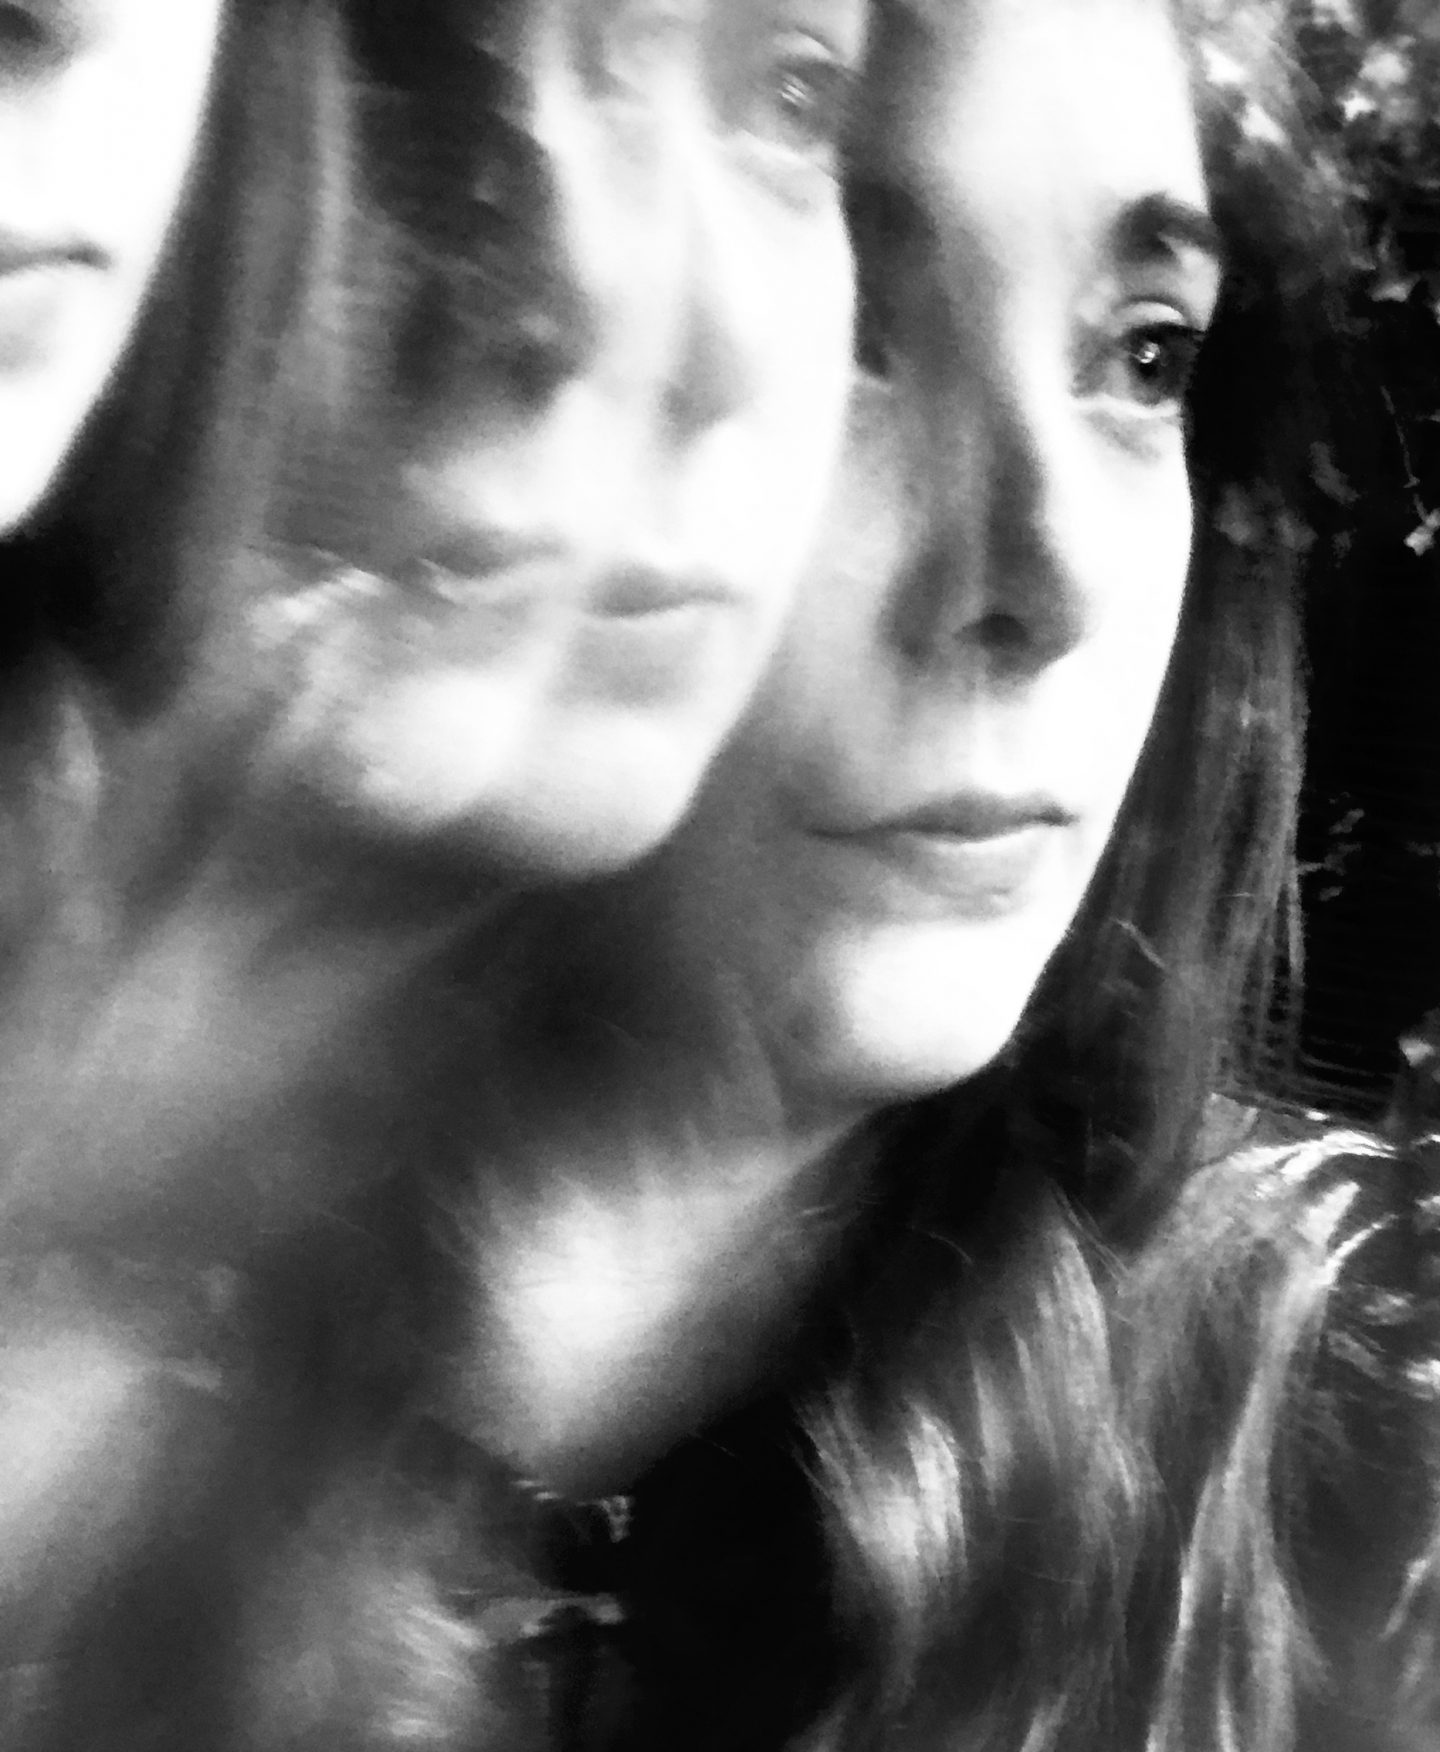
I stuck mostly to the portraits station as I was fascinated by the prism photography. We used glasses, prisms and the beautiful background of the Botanist to get portraits. I’ve been really wanting to try it ever since finding Brandon Woelfel . I’ve now added a few different types of prisms to my amazon wishlist, they’re really fun to play with but it definitely takes practice.
So what did I learn?
10 Photography Tips I learned from Elouisa Georgiou
- Use natural reflectors in the room. A plain piece of paper works well or invest in a foam board to help bounce light. Turn off or block out ambient light.
- If the lighting is too strong, harsh or windows are too big use a clear thin sheet curtain to diffuse the lighting.
- To get interesting portraits use prisms, glasses, bottles or reflections from windows, phone screens.
- Hold the items at different distances over the lens to create flashes of light and blurs.
- For flatlays use a tripod. It will reduce motion blur and keep your shot consistent. Use live view to help compose the photo.
- When doing flatlays, there are no rules. Lay items just outside the frame and partially in shot, large gaps between products may not always look good.
- When doing still life, use the ‘magic angles’ (straight on, 45 degrees, bird’s eye)
- Use a low aperture to create bokeh in the background.
- When photographing food, focus on the details of the dish. What makes it stand out?
- Getting a clear and attractive image is down to balancing aperture, ISO and shutter speed. If there isn’t a great amount of light, se a tripod and shoot at a slower shutter speed to capture your image without motion blur.
I captured some of the event in my newest vlog- have a watch below!

